> For the complete documentation index, see [llms.txt](https://docs-launchpad.energyweb.org/llms.txt). Markdown versions of documentation pages are available by appending `.md` to page URLs; this page is available as [Markdown](https://docs-launchpad.energyweb.org/ewx-ecosystem/worker-nodes/server-based-worker-nodes/bootstrapping-server-based-worker-node-accounts.md).

# Bootstrapping Server-based Worker Node Accounts

Before you start using your Worker Node and be able to control blockchain set-up fully using Marketplace app, there is a set-of one-time actions that needs to be done as a prerequisite.

## Types of EWX Accounts

1. [Operator](/core-concepts/worker-node-operator.md) Account - an EWX account which serves as the main account of the operator to be used in EWT management (lifting/lowering), subscriptions, rewards, etc
2. Worker Node Account - an EWX account with the sole purpose of casting votes on behalf of the operator (interacting with blockchain).

## Prerequisites

1. Public Address of the Worker Node Account - the worker node account must already be created using any of [wallet which supports EWX](https://wiki.polkadot.network/docs/wallets-and-extensions).\* \
   \
   \****Disclaimer*** -> *If you use Launchpad Managed Worker Node offer, there is an option to automatically generate Worker Account along with Worker set-up.*<br>
2. Operator Account with enough EWT balance - create an account from [any wallet which supports EWX](https://wiki.polkadot.network/docs/wallets-and-extensions) and make sure to [lift](/core-concepts/energy-web-tokens/token-lifting.md) enough EWT for signing-up as operator, linking worker account to operator, [opting-in to solution groups](/core-concepts/subscription.md), etc

## Step by step guide to setup your worker node

Please be informed that below actions can be conducted using both:

1. Marketplace Desktop App - download the latest version from <https://www.energywebx.com/>
2. Marketplace Web App (**Recommended**) - [https://marketplace.energywebx.com/](https://marketplace.energywebx.com/#/discover)

<figure><img src="/files/pSuxPobkXlakMQxlt65V" alt=""><figcaption><p><strong>Figure 1</strong> Setting-up a worker node account</p></figcaption></figure>

### Sign-up as operator

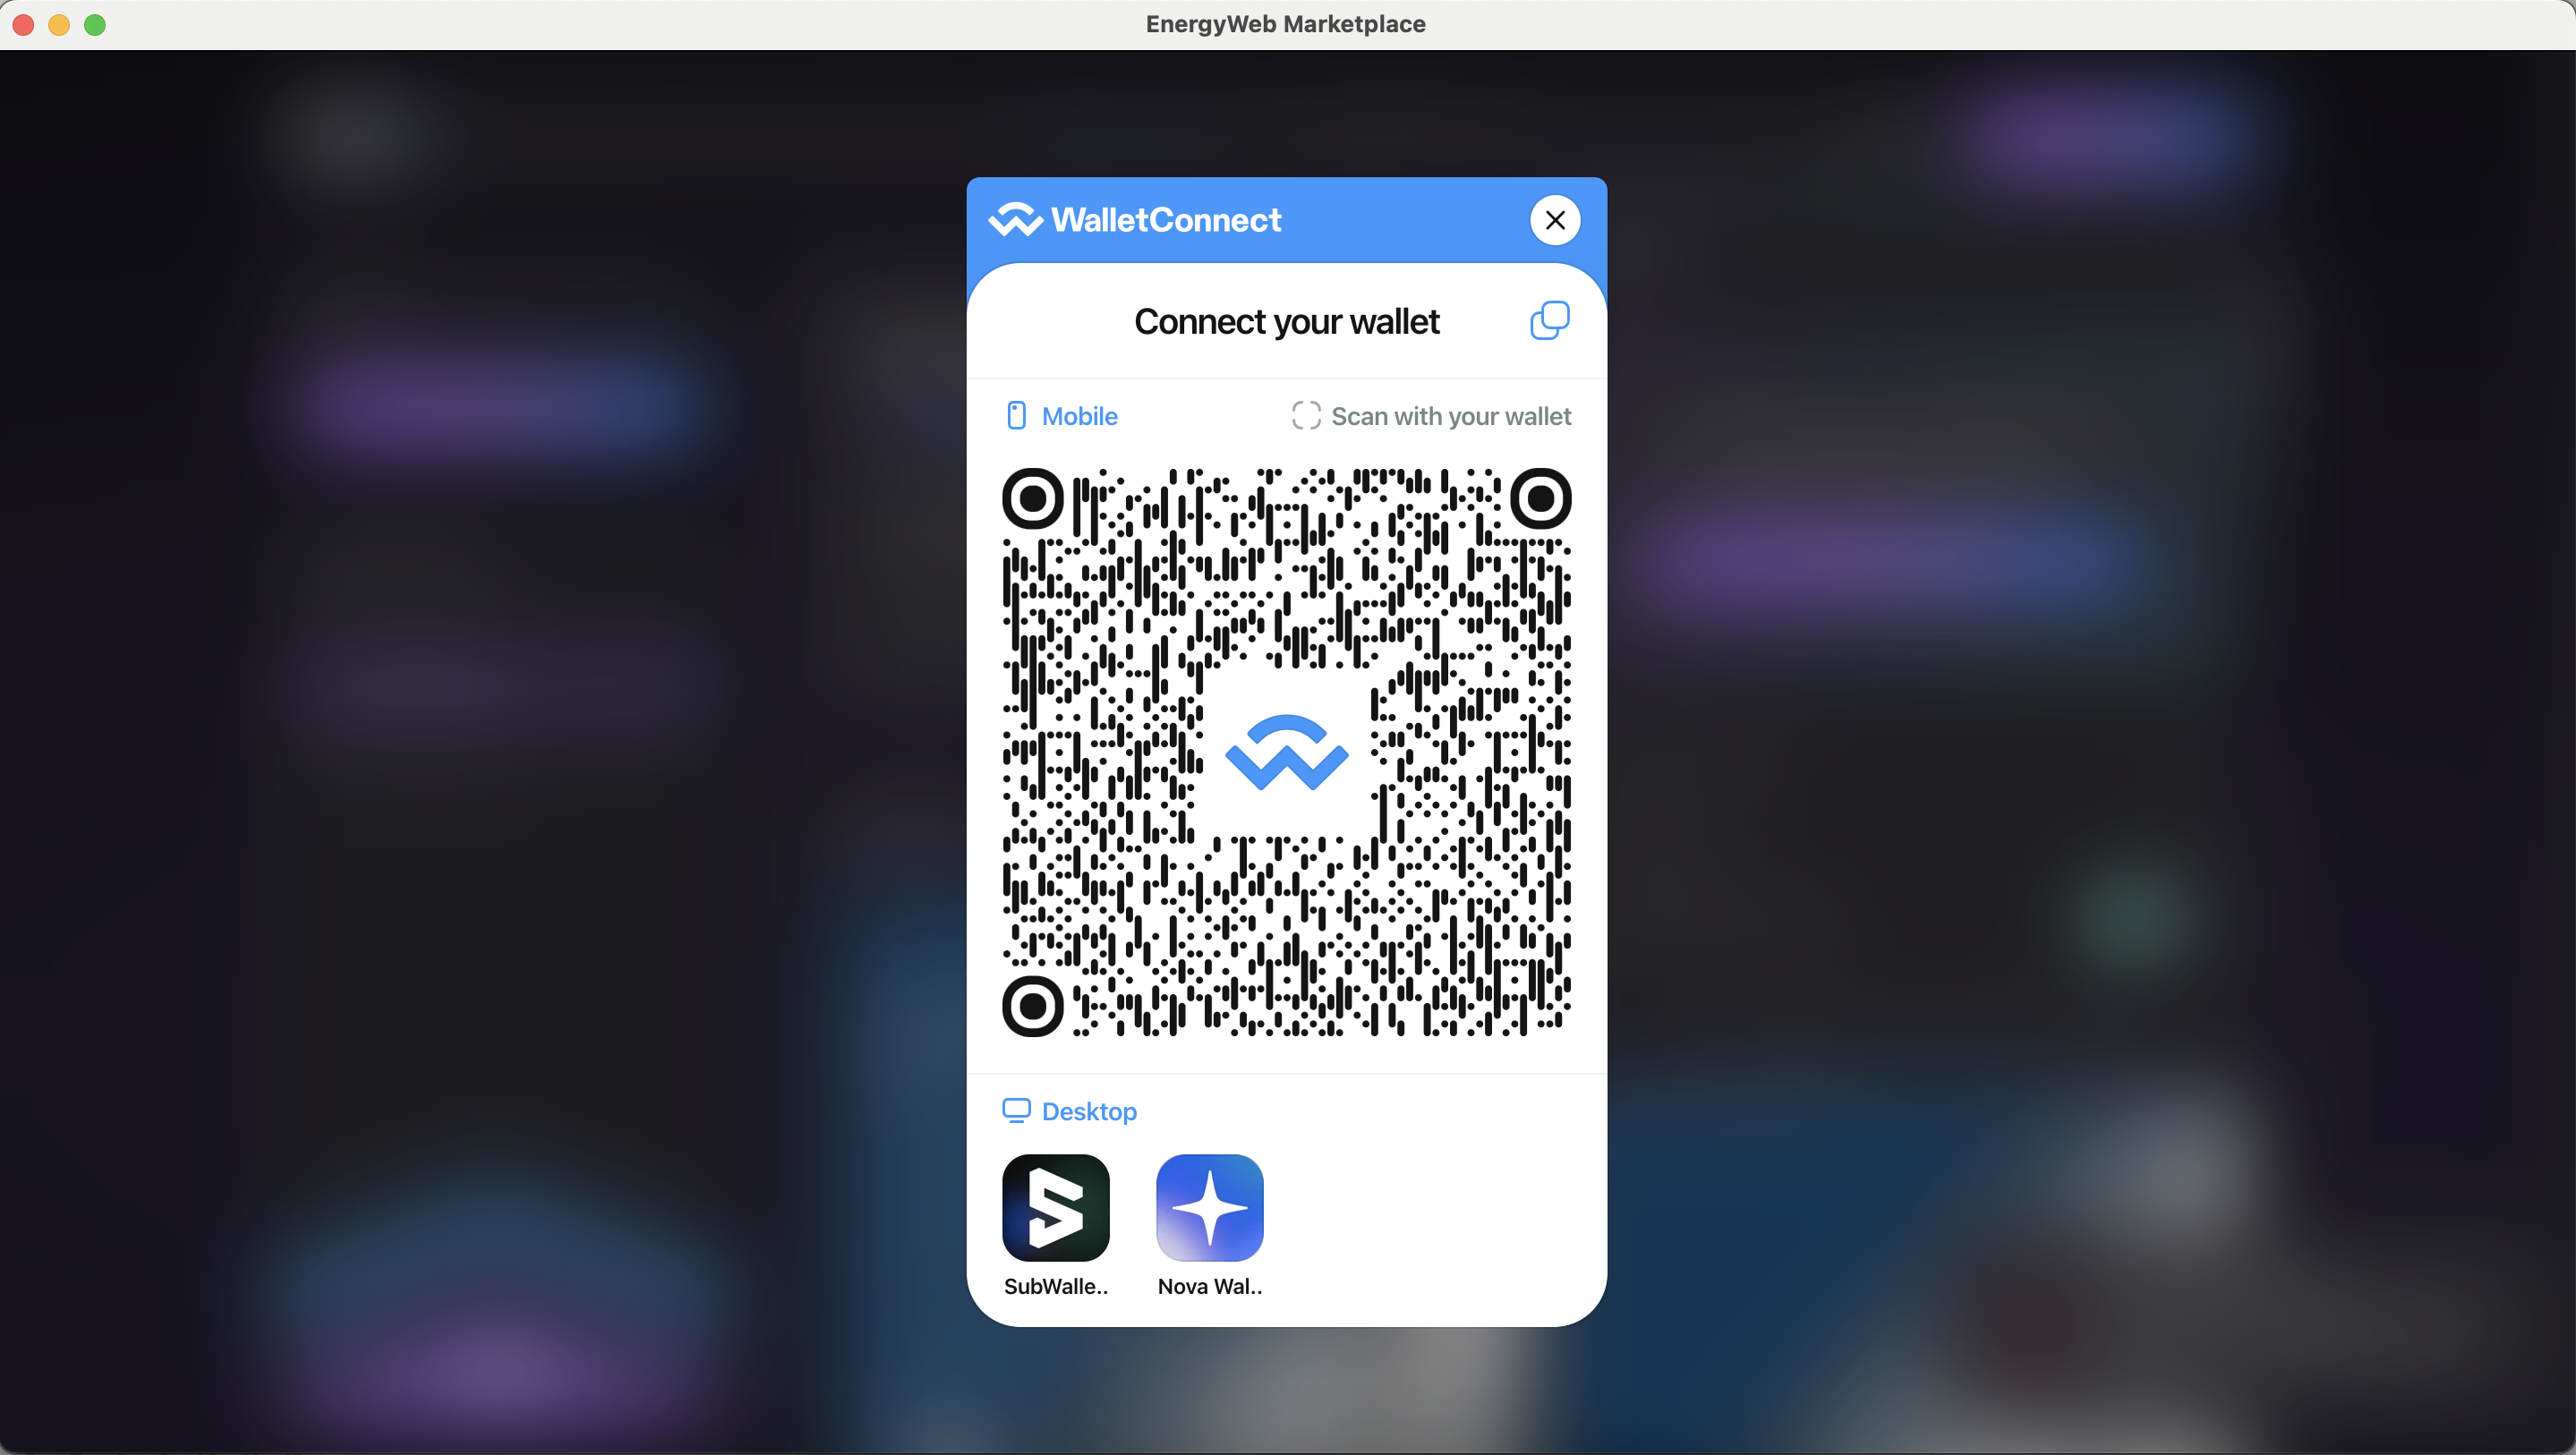
To sign-up as an operator, you must prepare your "operator" EWX account. This account is just a normal account created on EWX network via any supported Polkadot wallet. For now, we suggest to use [Sub Wallet](https://www.subwallet.app/) or Nova Wallet. Make sure to always keep your seedphrase copied and secured elsewhere. In addition, please ensure that your operator account has sufficient EWT balance to proceed with any on-chain transaction.

Please follow below steps to sign-up as an operator.

1. Connect your operator account\
   &#x20;

   <figure><img src="/files/iulNt7oZarq5IjUqWEIV" alt="" width="375"><figcaption></figcaption></figure>
2. Approve the connection request in your wallet<br>

   <figure><img src="/files/z1KXFoPksae19Hjp72pD" alt="" width="188"><figcaption></figcaption></figure>
3. Once connected, you will be redirected to the Discover page and you will see your "operator" public address in the upper right corner of the screen as highlighted below<br>

   <figure><img src="/files/FT0owwBrcPoX6eGRetzX" alt="" width="375"><figcaption></figcaption></figure>
4. Browse through any solution group and click on it. You will be redirected to its details page. Then, click on the "Opt-in" button<br>

   <figure><img src="/files/DrIF3BpgejtuYmwU697g" alt="" width="375"><figcaption></figcaption></figure>
5. The sign-up operator dialog gets displayed. Input your details accordingly and approve the transaction in your wallet.<br>

   <figure><img src="/files/gWJB7XD82sh2pLpr9vXq" alt="" width="375"><figcaption></figcaption></figure>

### Subscribe to solution group

After the signing-up as an operator, you will be prompted to stake tokens to your selected solution group from the Discover page. Stake your desired amount and approve the transaction in your wallet.

<figure><img src="/files/vY2Ms5d4lw1lM5yo8q5d" alt="" width="375"><figcaption><p>Stake EWT to subscribe to solution group</p></figcaption></figure>

<figure><img src="/files/XdRKKVHByytPsnMJE2qM" alt="" width="375"><figcaption><p>Confirm stake amount to proceed</p></figcaption></figure>

<figure><img src="/files/gkT184P9IgjIh2yYN2qW" alt="" width="375"><figcaption><p>Approve the transaction in your wallet</p></figcaption></figure>

### Set worker node account

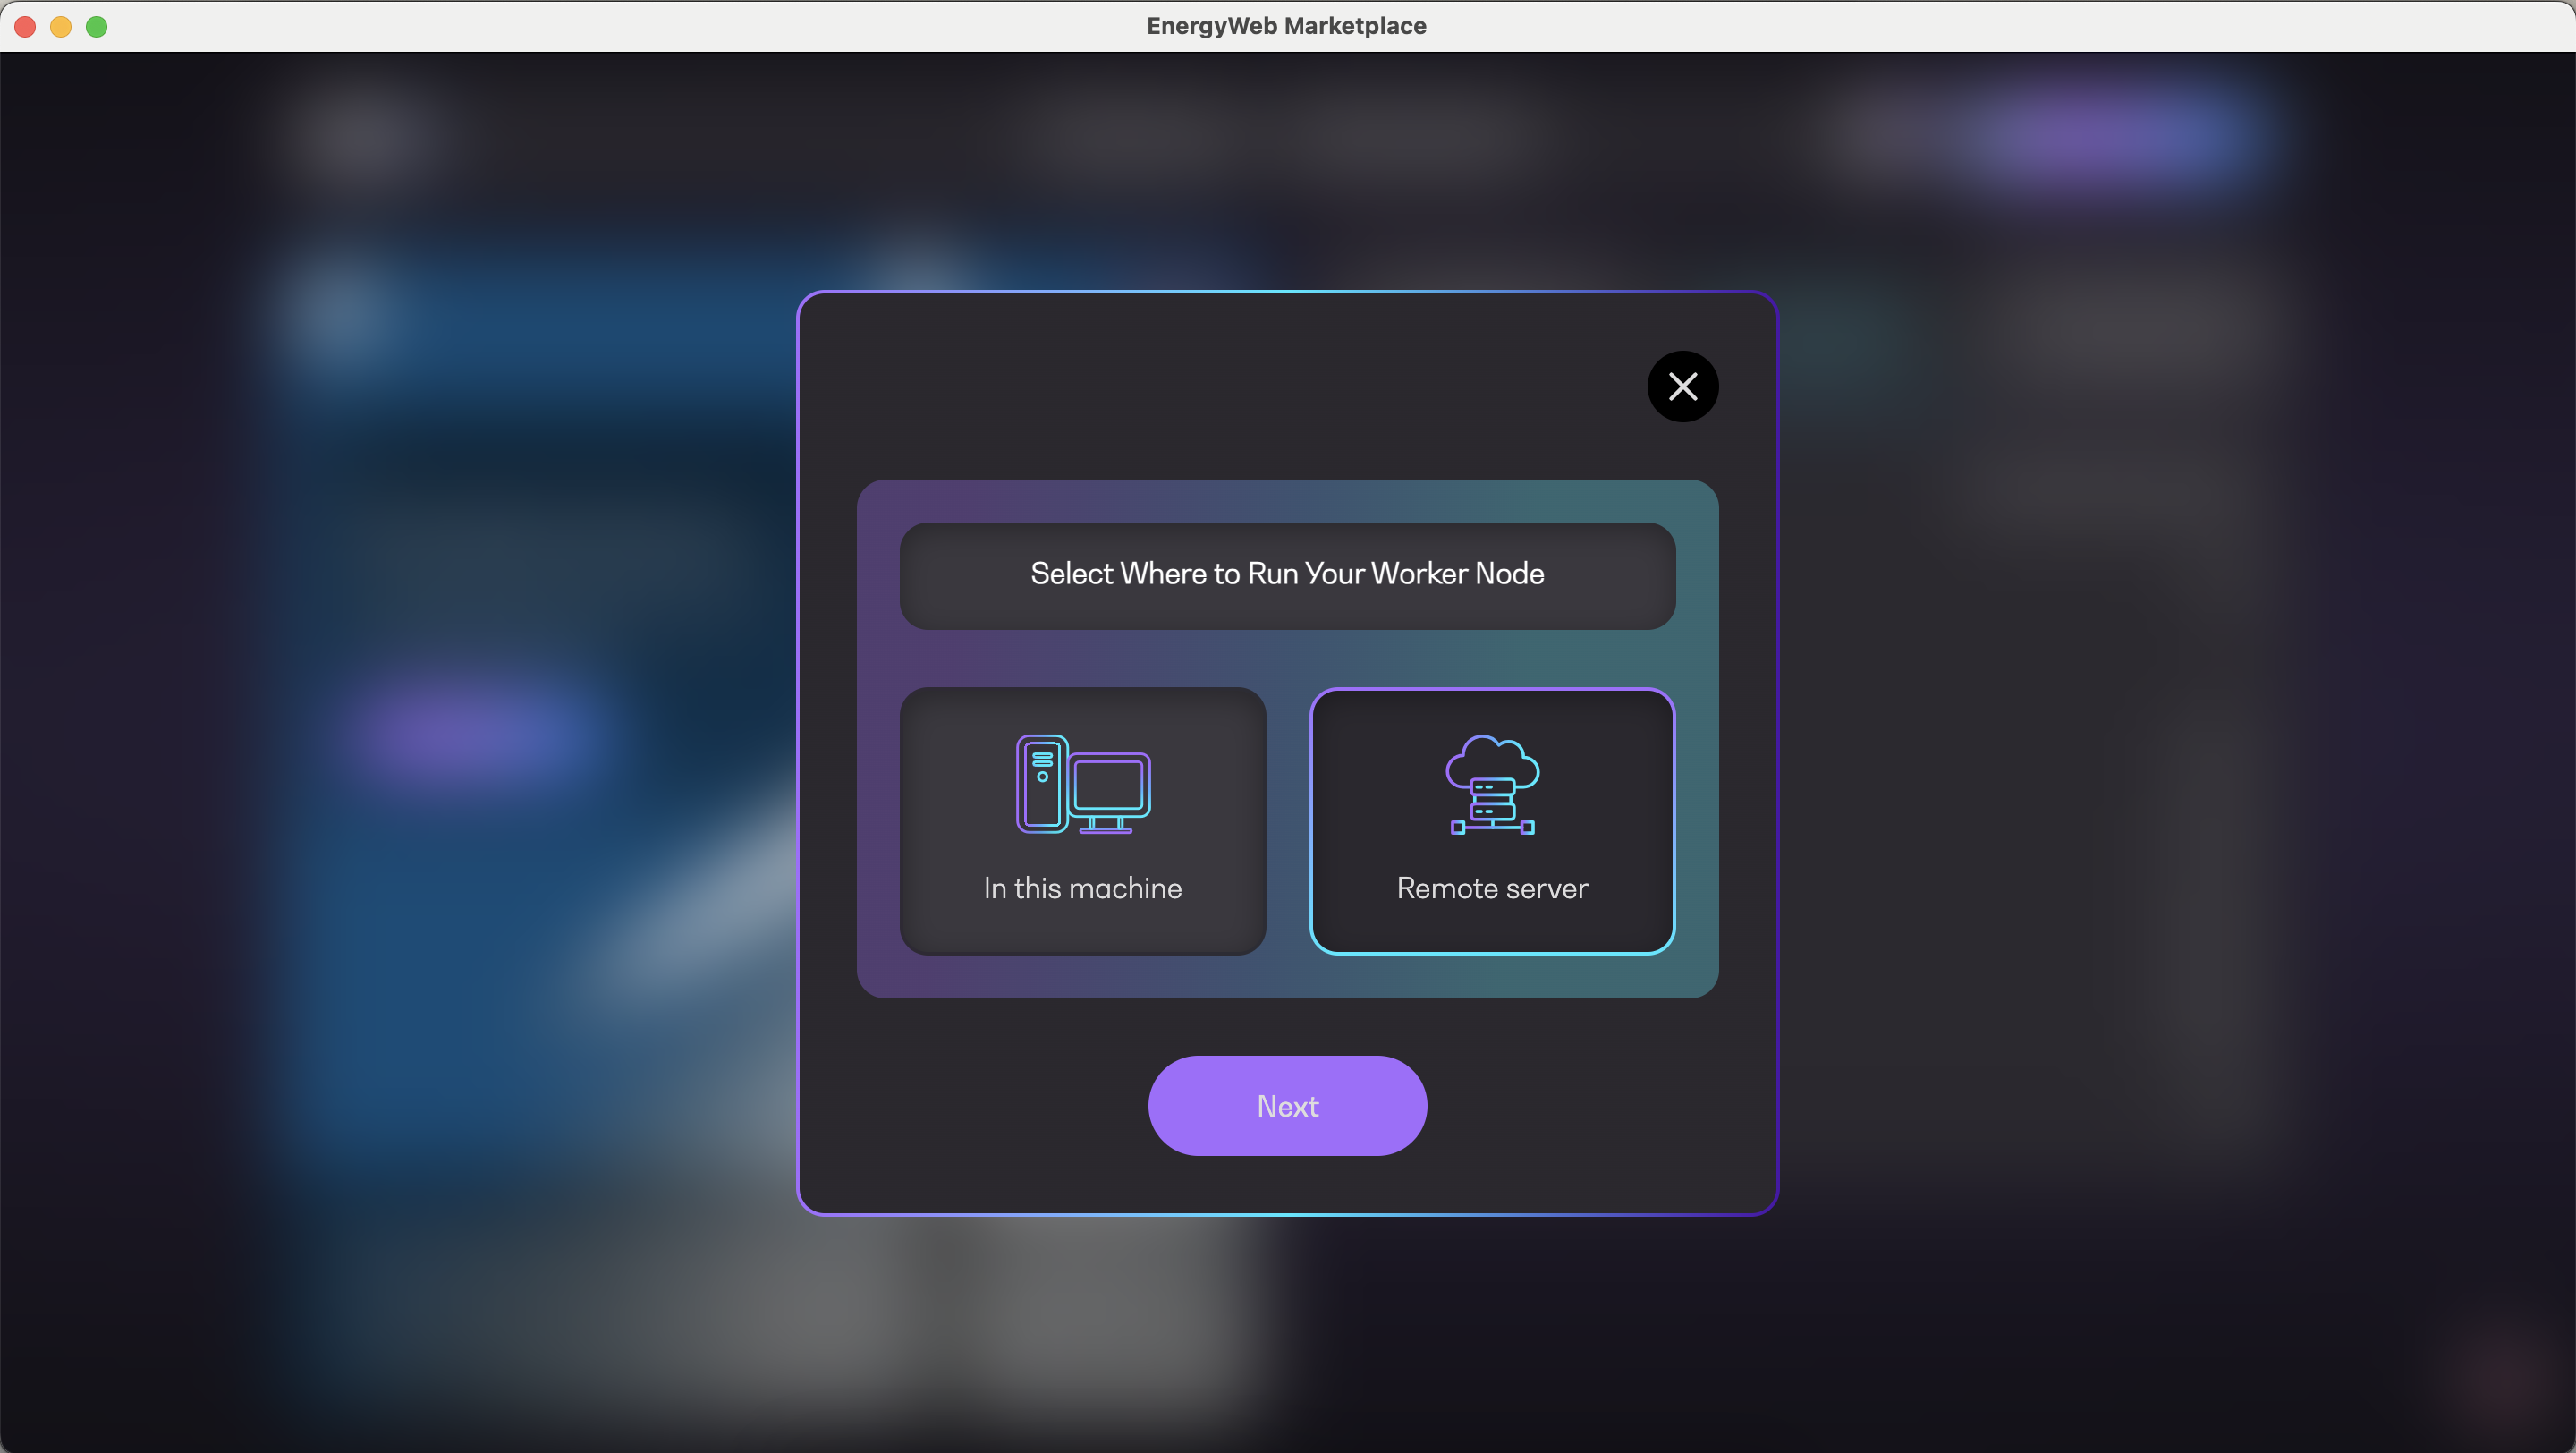
After subscribing to the solution group, you will be prompted whether to participate in a worker node network.&#x20;

<figure><img src="/files/f504hErUhynBRdYM4K0P" alt="" width="375"><figcaption><p>Click "Continue" button to proceed. </p></figcaption></figure>

<figure><img src="/files/UHX8DE5X0pRR3ZN9NYVg" alt="" width="375"><figcaption><p>Select "Remote server" and click "Next"</p></figcaption></figure>

<figure><img src="/files/I0g7bSO7Kh3ig7DLLdMS" alt="" width="375"><figcaption><p>Input your worker node public address and proceed</p></figcaption></figure>

### Link worker to operator

After setting your worker node public address above, you will be prompted to link your worker node account to your operator account.

<figure><img src="/files/nxoDC2mWa0VQ522gE3oQ" alt="" width="375"><figcaption><p>Simply click "Continue" to proceed</p></figcaption></figure>

<figure><img src="/files/KjCSfsuxgF67Hc3QMB7N" alt="" width="375"><figcaption><p>Then, approve the transaction in your wallet</p></figcaption></figure>

<figure><img src="/files/akztC9FYrmxA2JZ0NKr2" alt="" width="375"><figcaption><p>A success message is displayed and you are done</p></figcaption></figure>

Once done, your basic set-up is ready and you can continue with further Marketplace App Operator console exploration OR get back to your Server-based Worker Node set-up if it wasn't finished already.